Getting Started
Quickstart
Follow these steps to record your first test using Keystone’s cloud environment. No installation or setup required - just sign up and start testing.
 Recording is the fastest way to get started - simply click Record to open a cloud browser and navigate through your application naturally. Keystone’s AI captures every interaction automatically. If you install the CLI, you can record actions from your local branch seamlessly.
Building gives you precise control - click Add Step to manually construct your test by choosing from navigation, clicks, assertions, and more.
Describing leverages AI to generate tests from plain English descriptions of what you want to test.
Recording is the fastest way to get started - simply click Record to open a cloud browser and navigate through your application naturally. Keystone’s AI captures every interaction automatically. If you install the CLI, you can record actions from your local branch seamlessly.
Building gives you precise control - click Add Step to manually construct your test by choosing from navigation, clicks, assertions, and more.
Describing leverages AI to generate tests from plain English descriptions of what you want to test.
Step 1: Sign Up for Keystone Cloud
Visit https://app.withkeystone.com, authenticate with your credentials, and select your organization → Continue.Step 2: Create Your First Test
Go to Tests → New Test and fill out the test configuration form. Optional Configuration:- Authentication Module: Select if your test needs pre-authentication
- Test Dependencies: Choose tests that must run before this one
- Files: Upload any test data files needed
- Business Logic Description: Describe what functionality this validates
- Development branch configuration: Set up branch-specific settings
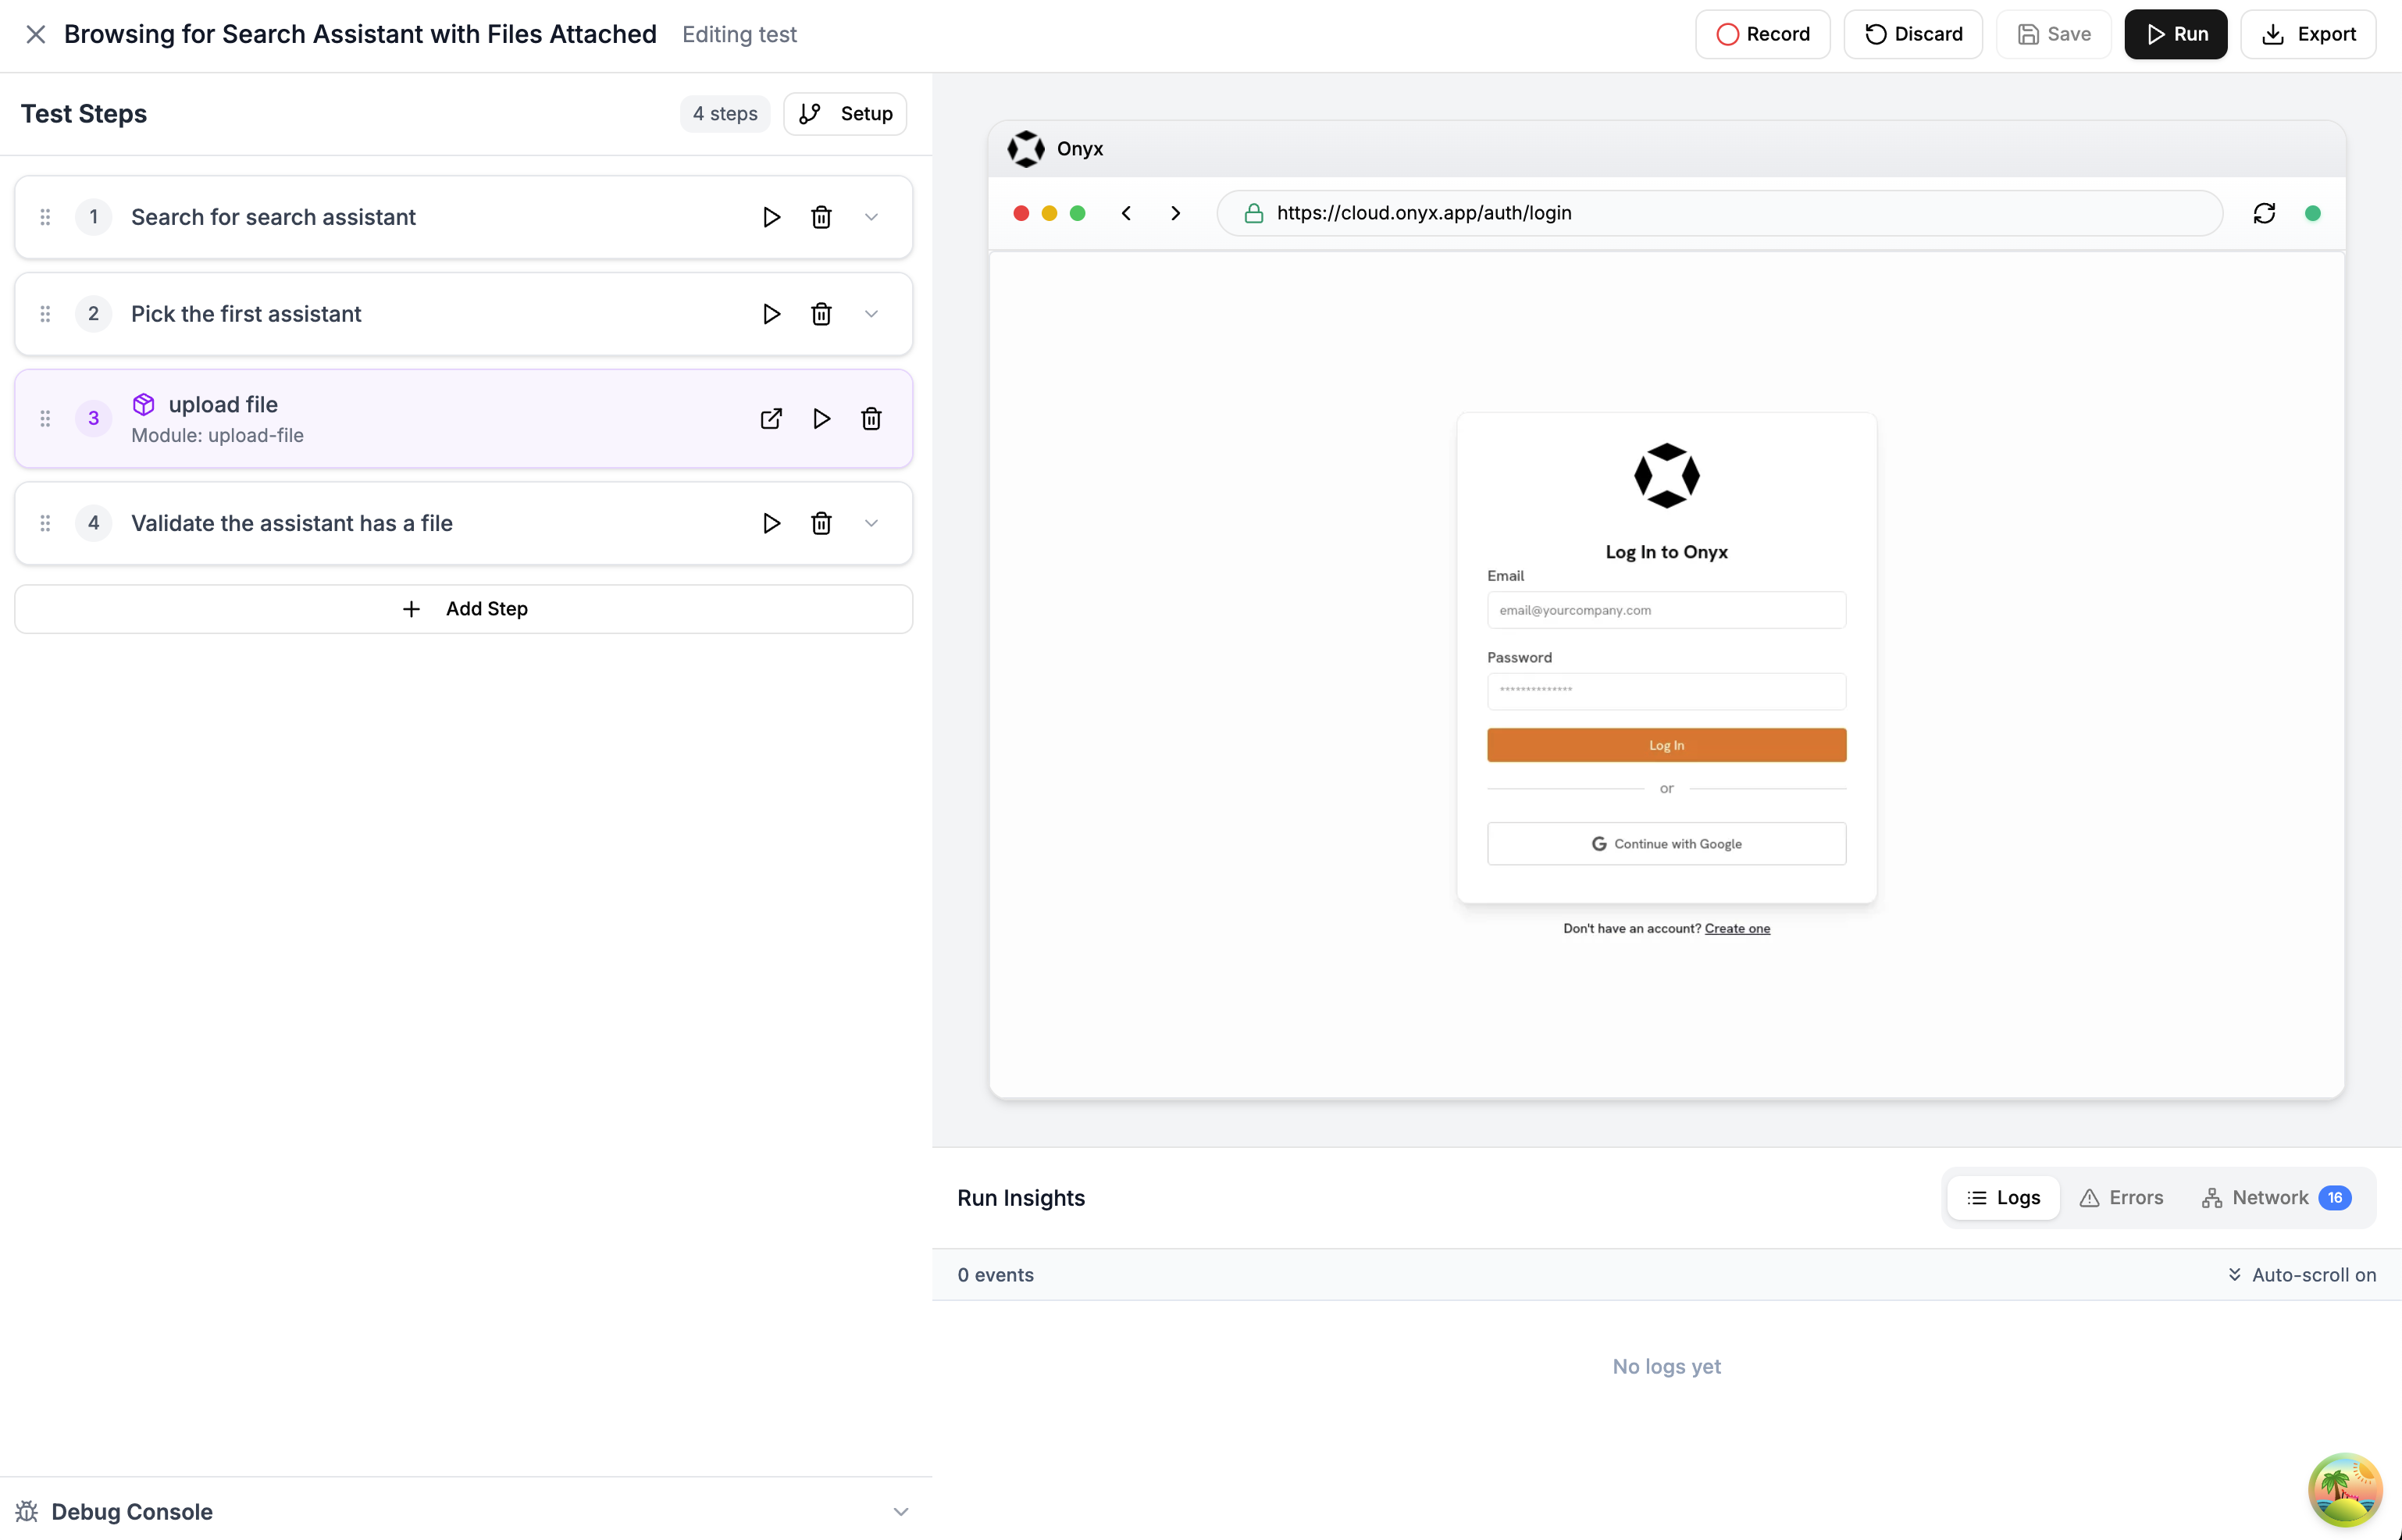
Step 3: Add Test Steps
Once your test is created, you’ll be taken to the “Keystone Studio” where you can build your test using any of these three approaches:Recording
Capture interactions by using your application
Building
Construct tests using step blocks
Describing
Let AI create tests from descriptions